Vinyl Cut Lettering and Graphics - How They Are Made
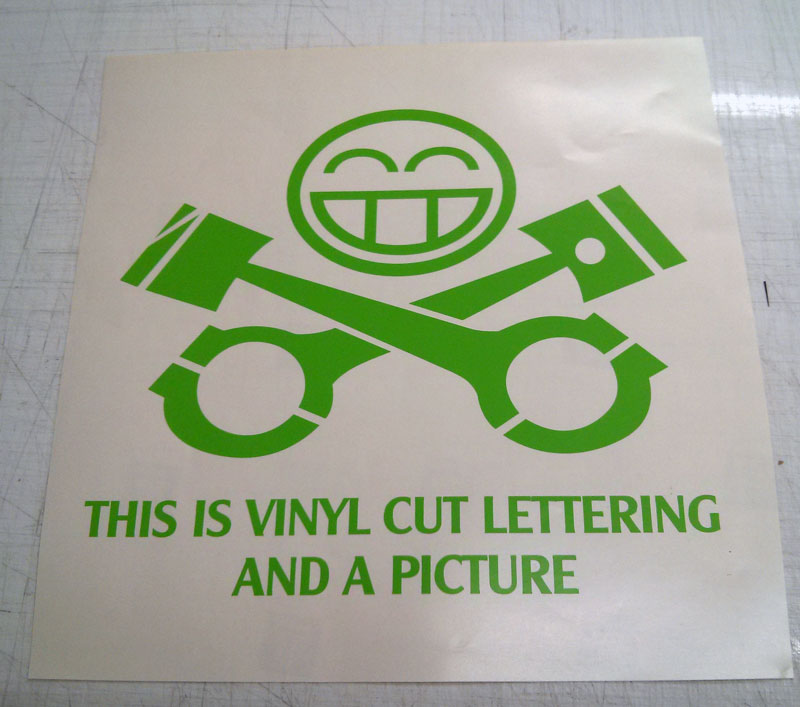
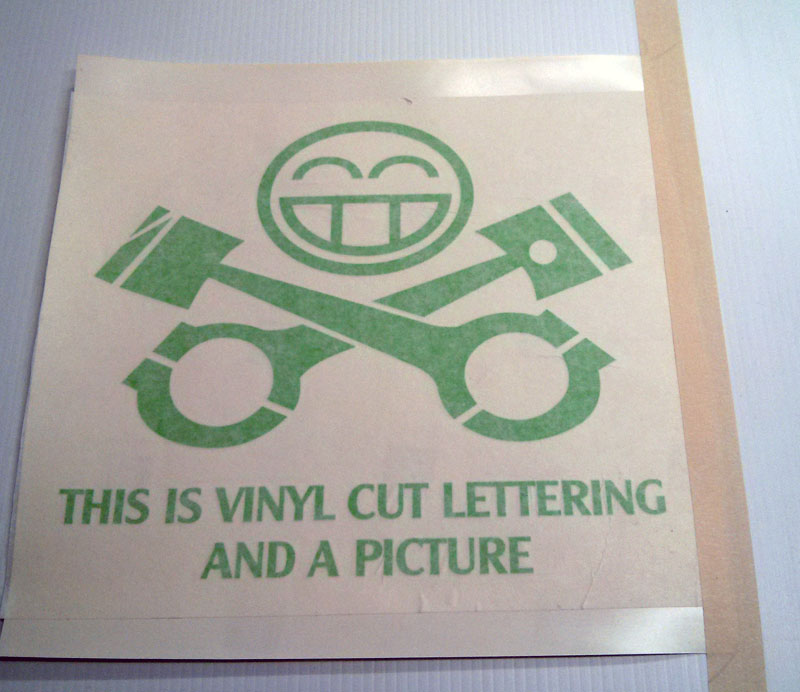
Vinyl cut stickers/decals and lettering are made from typically a single colour of vinyl, this type of vinyl is a standard material used for stickers and decals and is suitable for indoor and outdoor use. Sometimes referred to as Self Adhesive Vinyl or abbreviated to SAV, it comes in many different colours and is supplied on a roll, we use a special vinyl cutting machine that uses a finely engineered knife to cut the vinyl and produce the image or lettering required. We then use a process referred to as 'weeding' where the vinyl material that is not part of the design is 'weeded' out leaving the vinyl parts that make up the design.
An application tape is then applied over the weeded vinyl, this application tape allows the design to be removed from the backing paper and applied to the surface where it is to be installed. The application paper keeps all the elements of the design together and at their correct spacing.
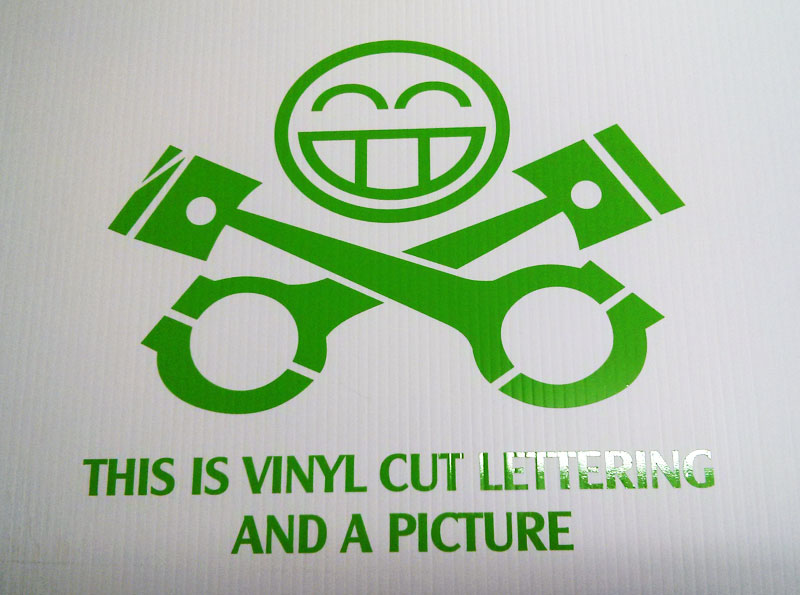
Once the sticker is applied, the application tape can be removed leaving just the sticker parts. With many designs, vinyl cut stickers are highly effective and very visually appealing particular for lettering, images and business signage.
We use premium branded vinyl from reputable manufacturers to make sure our products don't fail. Our vinyl cut stickers are rated 7+ years outdoors under normal exposure. We have seen cheaper vinyl fail within a few months and we will not use it, in fact over the past decade there has been a flood of cheaper materials coming into Australia including cheap machinery that is not as accurate as the companies that have been producing machines for decades. We use mostly Roland DG equipment which is Japanese designed and built and is proven within our industry.
When you purchase a vinyl cut sticker from The Art of Stickers, you know that it will last years in Australia's outdoor conditions. Our reputation is as important as the type of customer we strive to service.
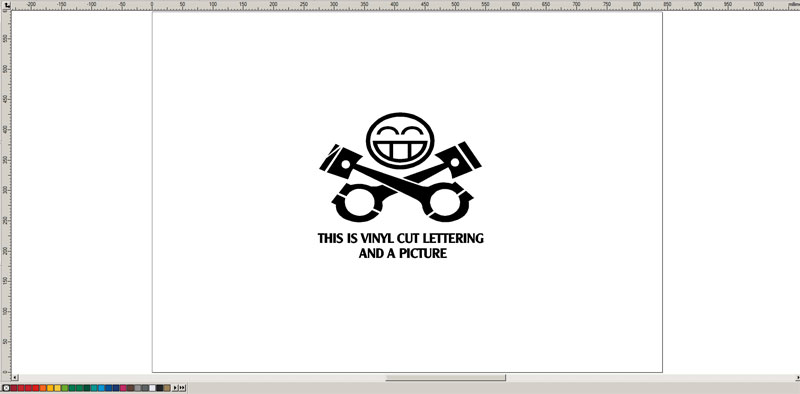
Step 1: The design is loaded or drawn into a scalable vector graphics program such as Adobe Illustrator or CorelDraw. We predominantly use a program called FlexiSign which is specially made for the Sign and Sticker industries.
These programs allows us to size the graphic the correct size as well as fine tune the image for cutting on our machines.
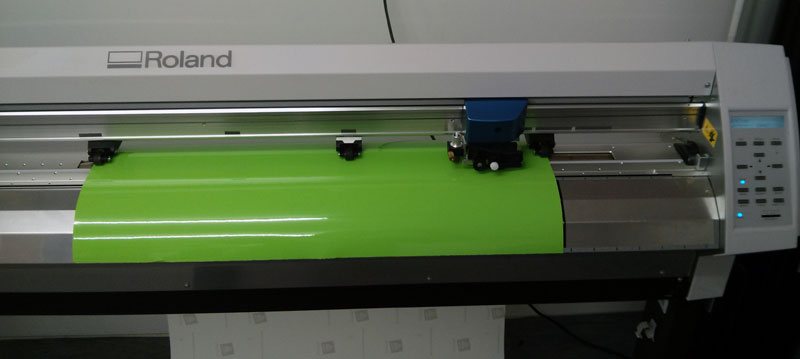
Step 2: Once we have prepared the graphic we prepare the vinyl cutter by loading the appropriate colour into it.
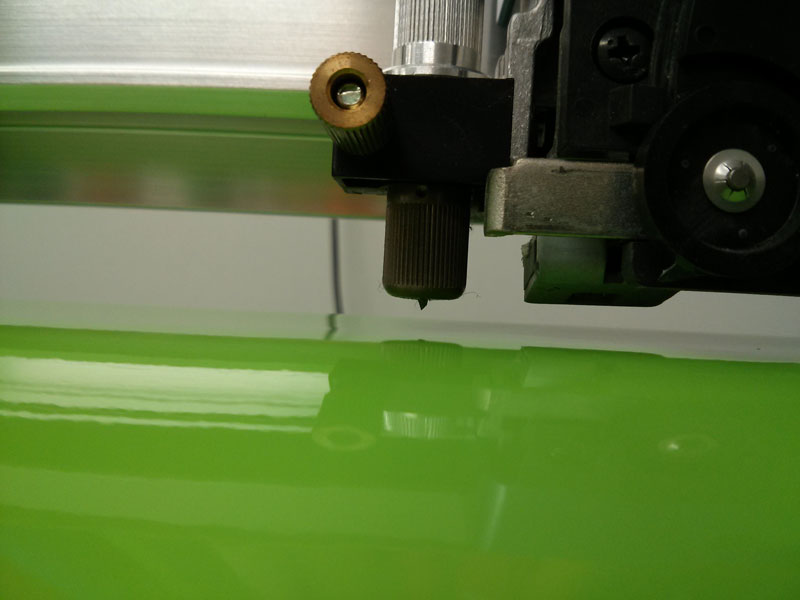
Step 3: The machine drops a tiny knife into the vinyl and cuts the design (the adhesive vinyl is on a wax coated paper which the knife doesn't cut through).
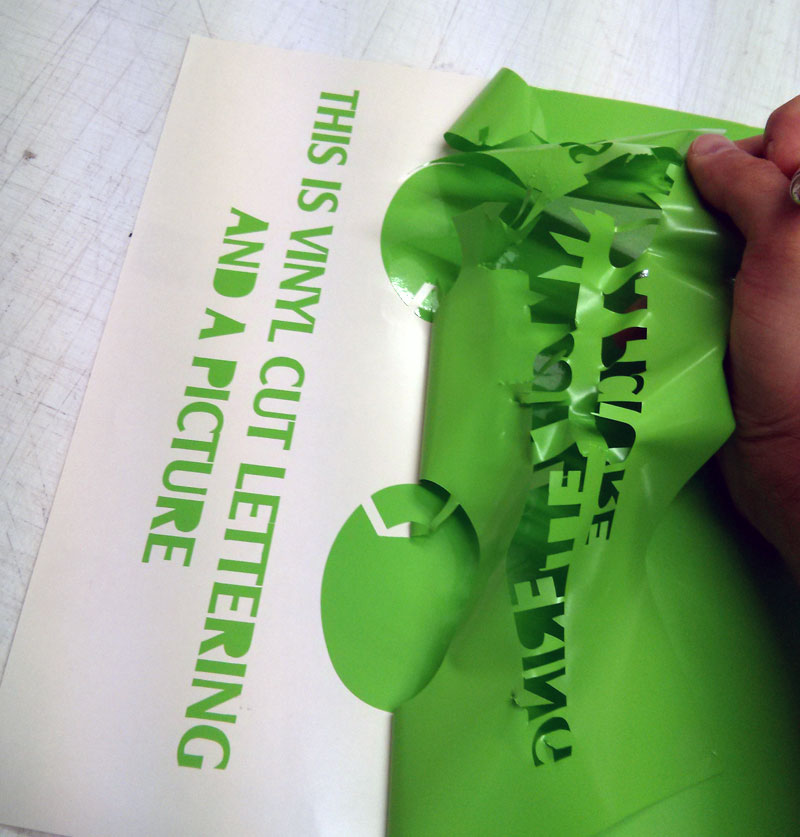
Step 4: We then take the cut vinyl from the machine and 'weed' it by hand, weeding means using a picker (like a needle point) and removing the unwanted cut parts from the vinyl.
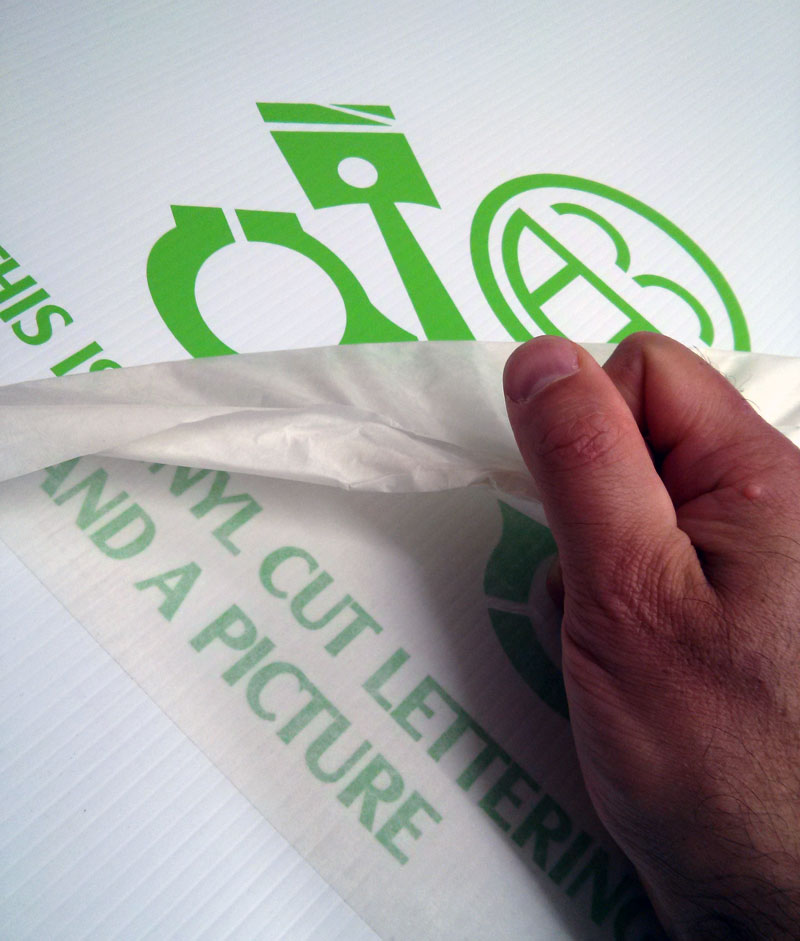
Step 5: Because all these cut bits become separate after cutting, it would be painful if not impossible to apply each bit of sticker to the surface you want to apply it to without having application paper over the top.
Step 6: Application tape is applied over the top of the sticker after it is weeded and keeps all the pieces as one so the sticker can be applied easily.
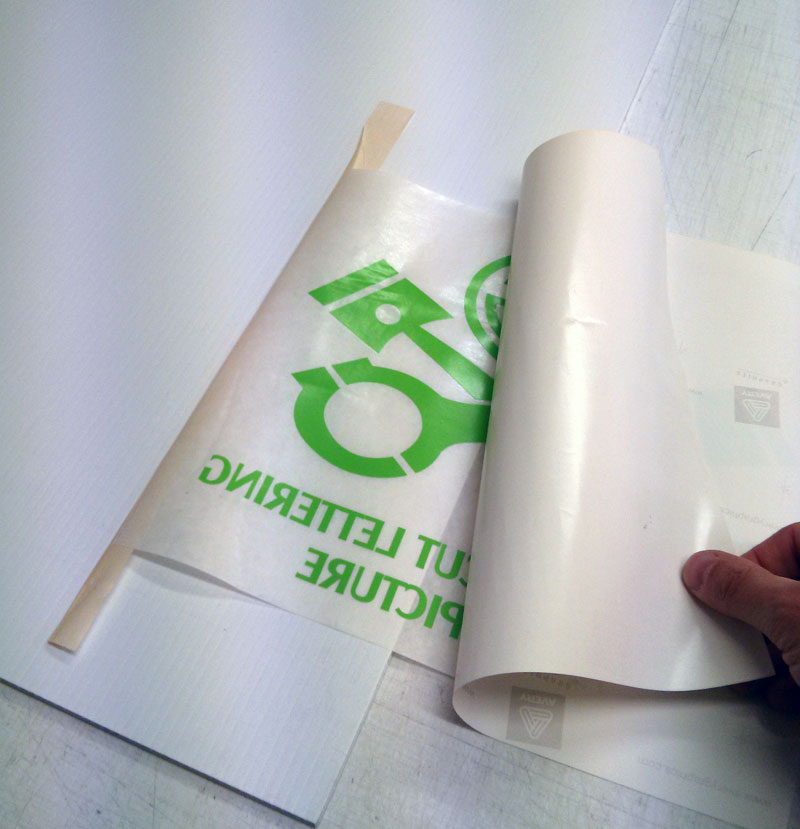
Step 7: The process is removing the application tape along with the sticker from the backing paper and then applying it to desired surface. Shown here the sticker is 'hinged' at one end to make the application easier.
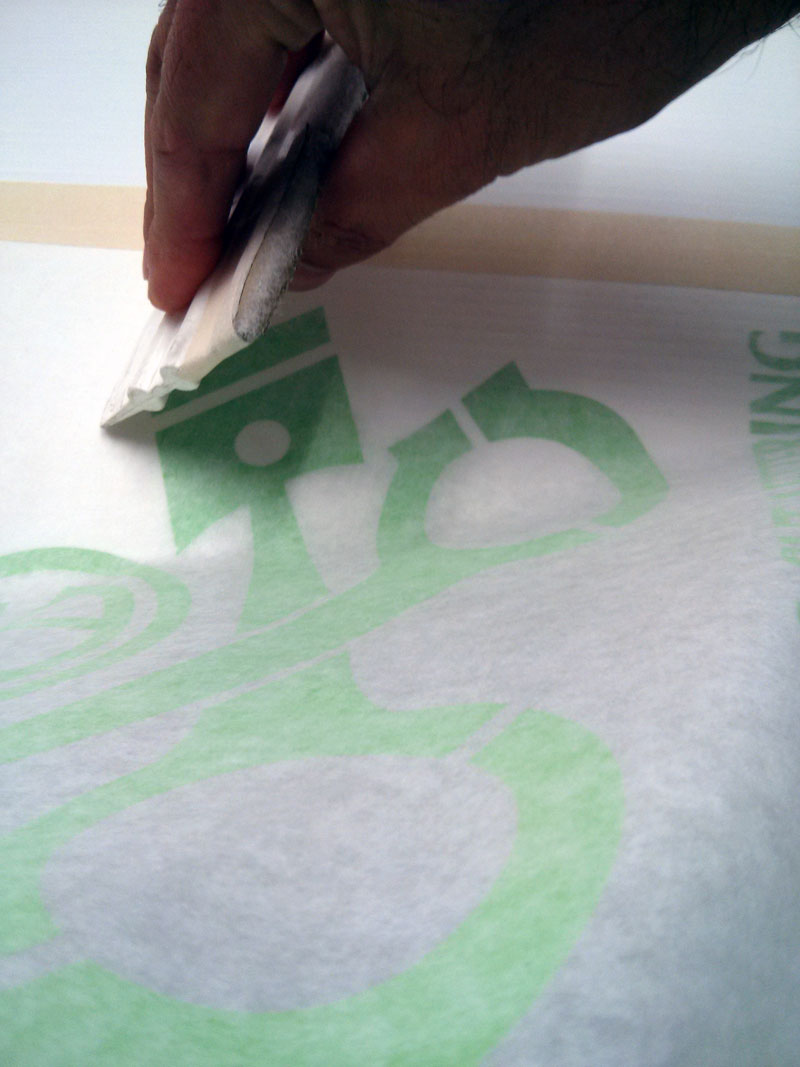
Step 8: Squeeging the sticker and the application tape onto the desired surface.
Step 9: Once the sticker is applied the application tape is removed leaving just the sticker 'bits'.
Step 10: Job done and now you and your sticker can live in sticker unison :)